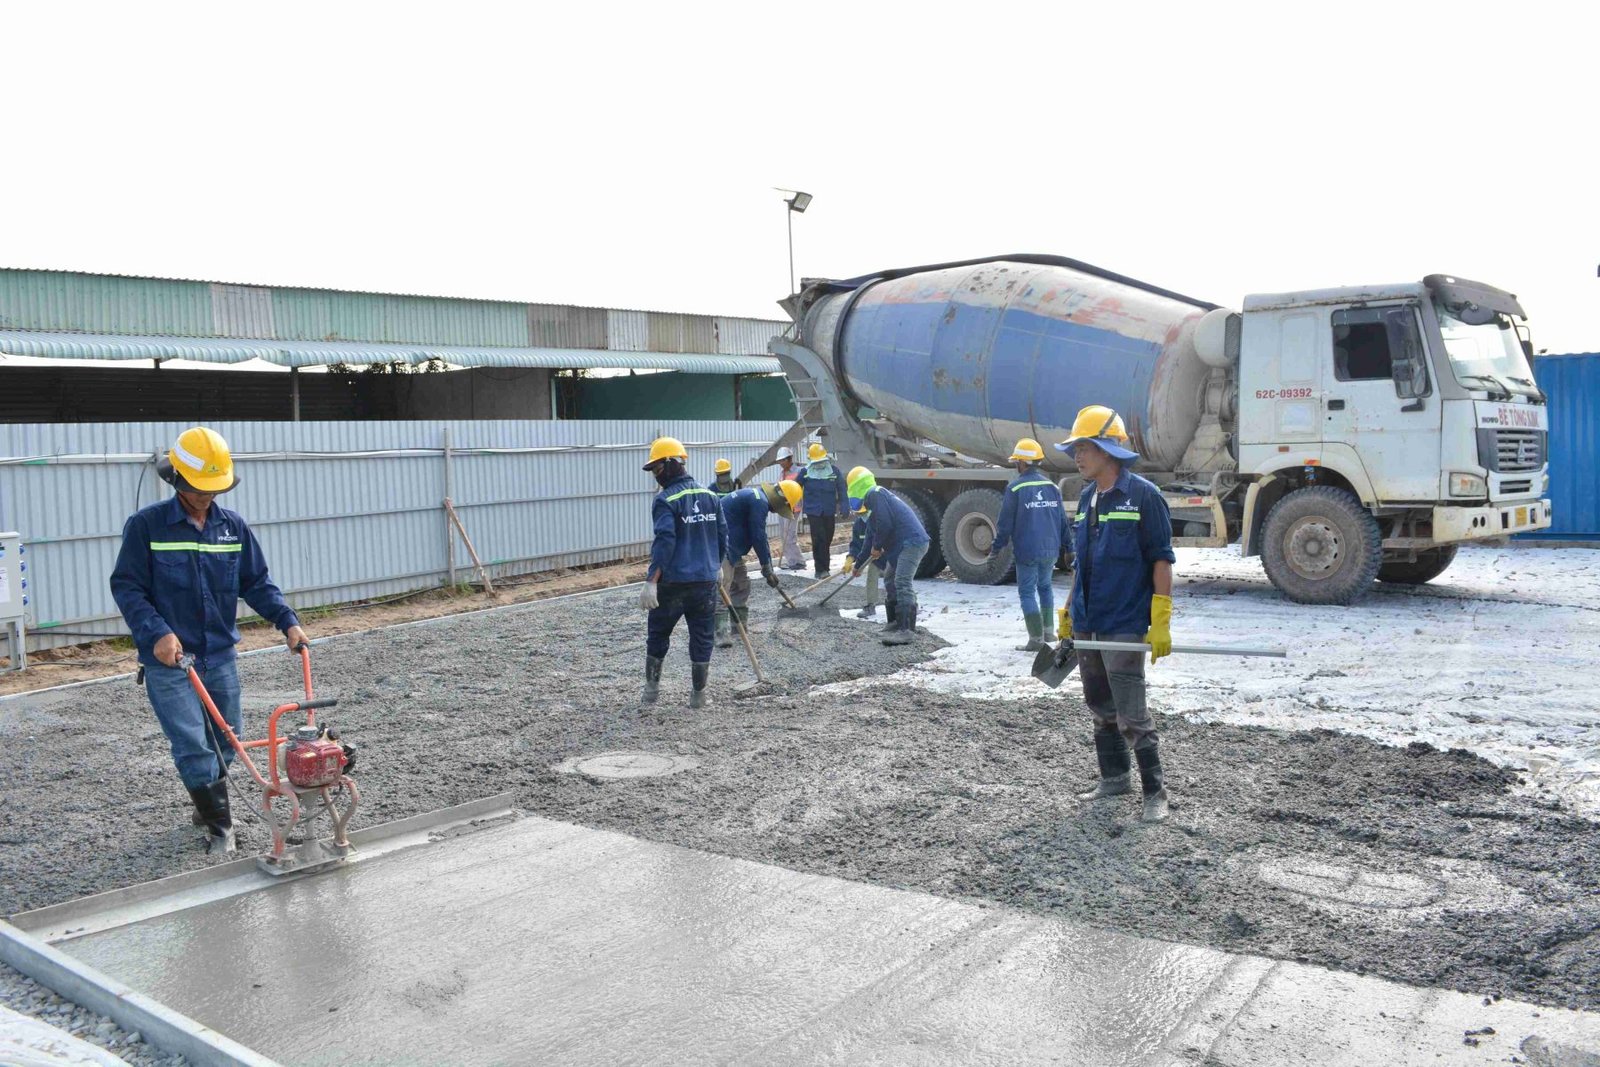
The Process of Pouring a Concrete Patio
Ready to transform your outdoor space with a sturdy, long-lasting addition? Pouring a concrete patio is popular for homeowners looking to enhance their backyard or garden. This project not only…
 Ready to transform your outdoor space with a sturdy, long-lasting addition? Pouring a concrete patio is popular for homeowners looking to enhance their backyard or garden.
This project not only boosts the aesthetic appeal of your home but also increases its functionality, providing a perfect spot for family gatherings, barbecues, or a tranquil retreat to enjoy nature.
The process involves several crucial steps, from site preparation and forming to the actual pouring and finishing of the concrete. Each stage is vital to ensuring the patio's durability and appearance. Whether you plan to DIY or hire professionals, understanding what goes into pouring a concrete patio will help you achieve the best results.
Here are the essential steps and tips for successfully creating a beautiful and robust concrete patio that you'll enjoy for years.
1. Planning and Design
Planning the design and layout is the first step in creating a concrete patio. Consider how you intend to use the space—whether for dining, lounging or as a play area for kids. Think about the size and shape that will best fit your yard. It's also important to select the right location; ideally, a spot with good sunlight and proper drainage to avoid water pooling on your new patio.
During this phase, it is crucial to check local building codes and obtain any necessary permits. This ensures that your construction project is legally compliant and avoids future complications.
2. Site Preparation
Once your design is in place, the next step is preparing the site. This involves clearing any grass, plants, and debris. The ground should be levelled to ensure a stable base for the concrete. Depending on your soil type, you might need a gravel sub-base for enhanced drainage and stability.
This labour-intensive process requires precise execution to avoid future issues such as cracking or settling of the concrete. Hiring professional concrete contractors can be very beneficial during this phase, as they bring expertise and the right tools to prepare the site efficiently.
3. Building the Form
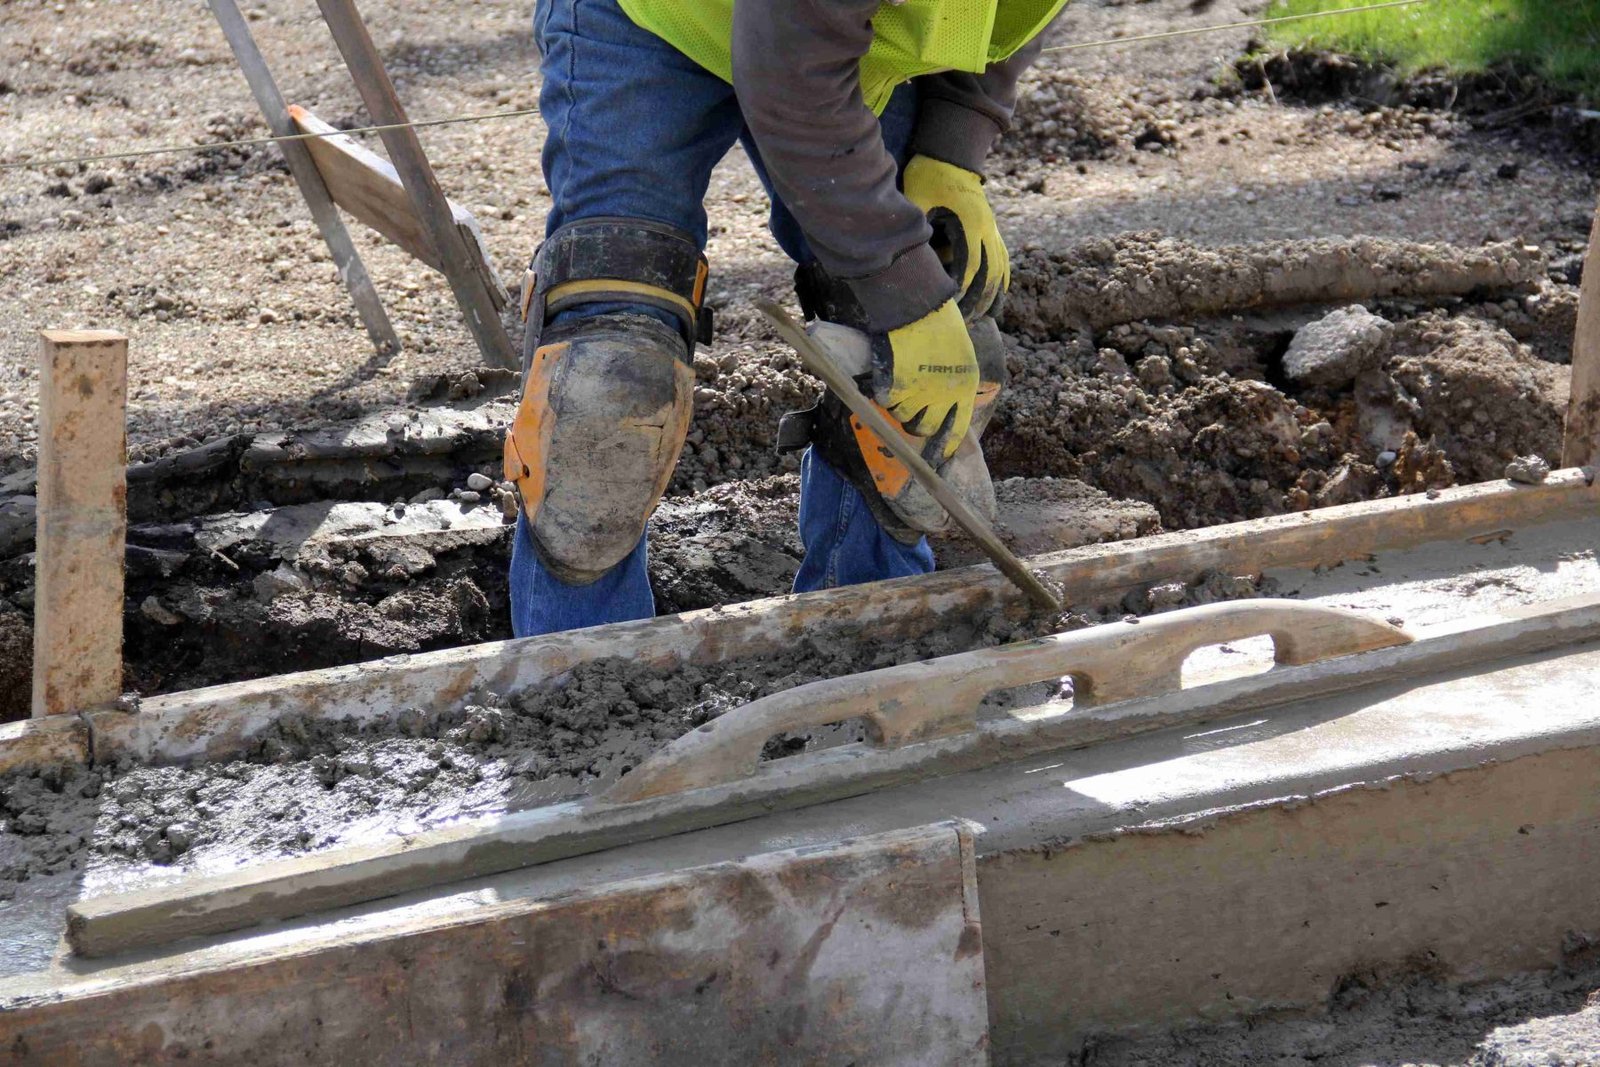
After the site is prepared, the next step is to build a form made of wood boards or flexible plastic that holds the poured concrete in place as it sets. The form should match the planned shape and dimensions of your patio.
Ensuring the forms are secure and won't shift during the pouring process is important. Additionally, the form's top edge should be level, as it defines the surface level of your finished patio.
4. Installing Reinforcements
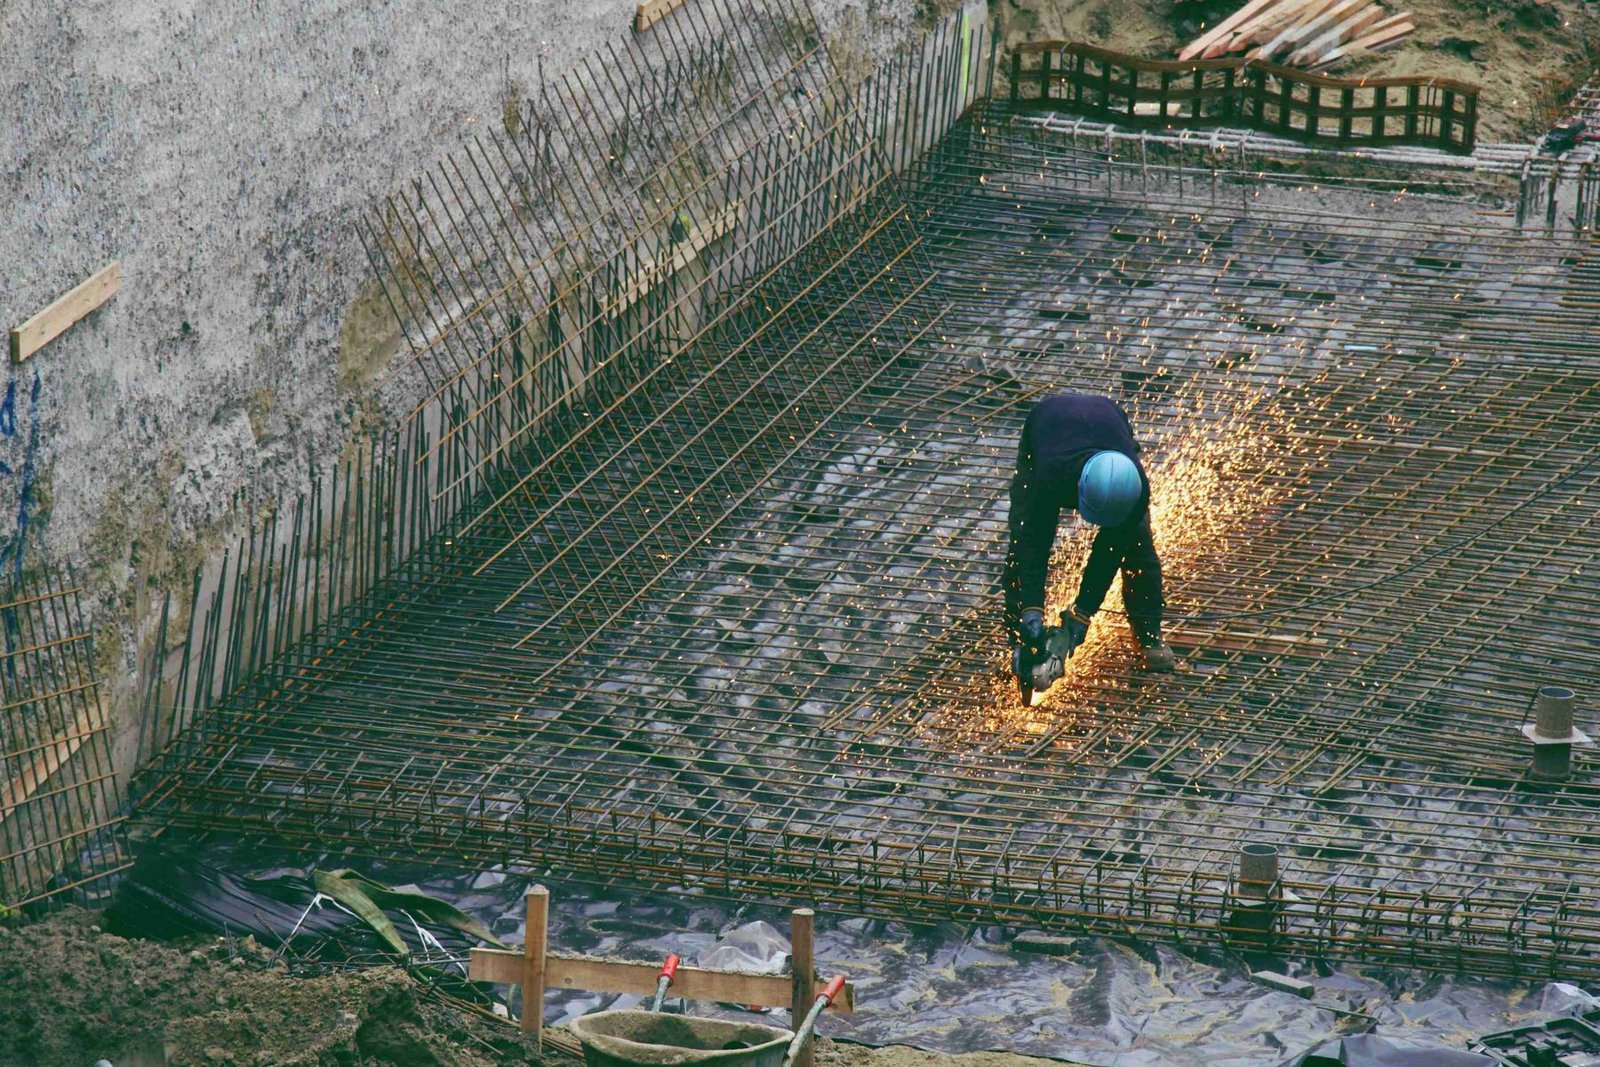
Steel reinforcing bars (rebar) or wire mesh can be added inside the form to increase the strength and prevent cracking. This step is especially critical in extreme weather conditions, as it helps the patio withstand freeze-thaw cycles and heavy usage. Concrete contractors can advise on the appropriate type of reinforcement based on the patio's size and expected load.
5. Pouring the Concrete
The concrete in Calgary mix should be consistent and poured quickly to prevent it from starting to set before it is evenly distributed. It’s spread within the forms and levelled with a screed board. Following this, a float is used to smooth the surface and bring the 'cream' of the concrete to the surface for finishing.
6. Finishing Touches
Once the concrete is levelled, finishing touches can be applied. This might include texturing or stamping the surface to create a decorative pattern that resembles stone, brick, or tile. Edges can be smoothed with an edging tool to provide a professional finish.
It's crucial to perform these tasks while the concrete is still soft enough to work with but firm enough to hold its shape.
7. Curing the Concrete
Concrete needs time to cure and gain strength. This process typically takes about a week. During this time, the surface should be kept moist to prevent the concrete from drying too quickly, which can cause cracking. Concrete contractors might cover the patio with a curing compound or plastic sheeting to manage the curing process effectively.
8. Sealing the Concrete
After the concrete has cured, applying a sealant is highly recommended. This helps protect the surface from:
Moisture penetration
Stains
and weather damage
It can also enhance the colour of stamped or decorative concrete. Sealants should be reapplied every few years, depending on the exposure and usage of the patio.
Maintenance Tips
Regular maintenance involves keeping the patio clean, reapplying sealant as needed, and checking for any signs of cracks or wear. Quick action on small repairs can prevent larger issues down the road.
By following these steps and working with skilled concrete contractors, you can ensure that your concrete patio remains a beautiful and durable part of your outdoor living space for years. With proper planning and care, a concrete patio is a valuable addition to any home, providing an ideal space for relaxing and entertaining outdoors.
Get the next one by email
One considered piece every other Thursday. No affiliate links.
Keep reading

How Technology has Changed the Real Estate Industry over the Last 10 Years
Technology has modernized many industries over the years. While technology in real estate may have grown at a slower pace than others, digitization has certainly altered the way people buy and sell…

Reshaping Residential Infrastructure with Modern Techniques
Great news – especially for homeowners: residential infrastructure in Calgary is undergoing a significant transformation, driven by modern techniques that emphasize sustainability, efficiency, and…

How Technology is Changing the Real Estate Game
From artificial intelligence to interactive open houses, new technologies are redefining how real estate is bought and sold. Accelerating the pace of business, utilizing real estate technology offers…
Be the first to comment
Loading the thread…