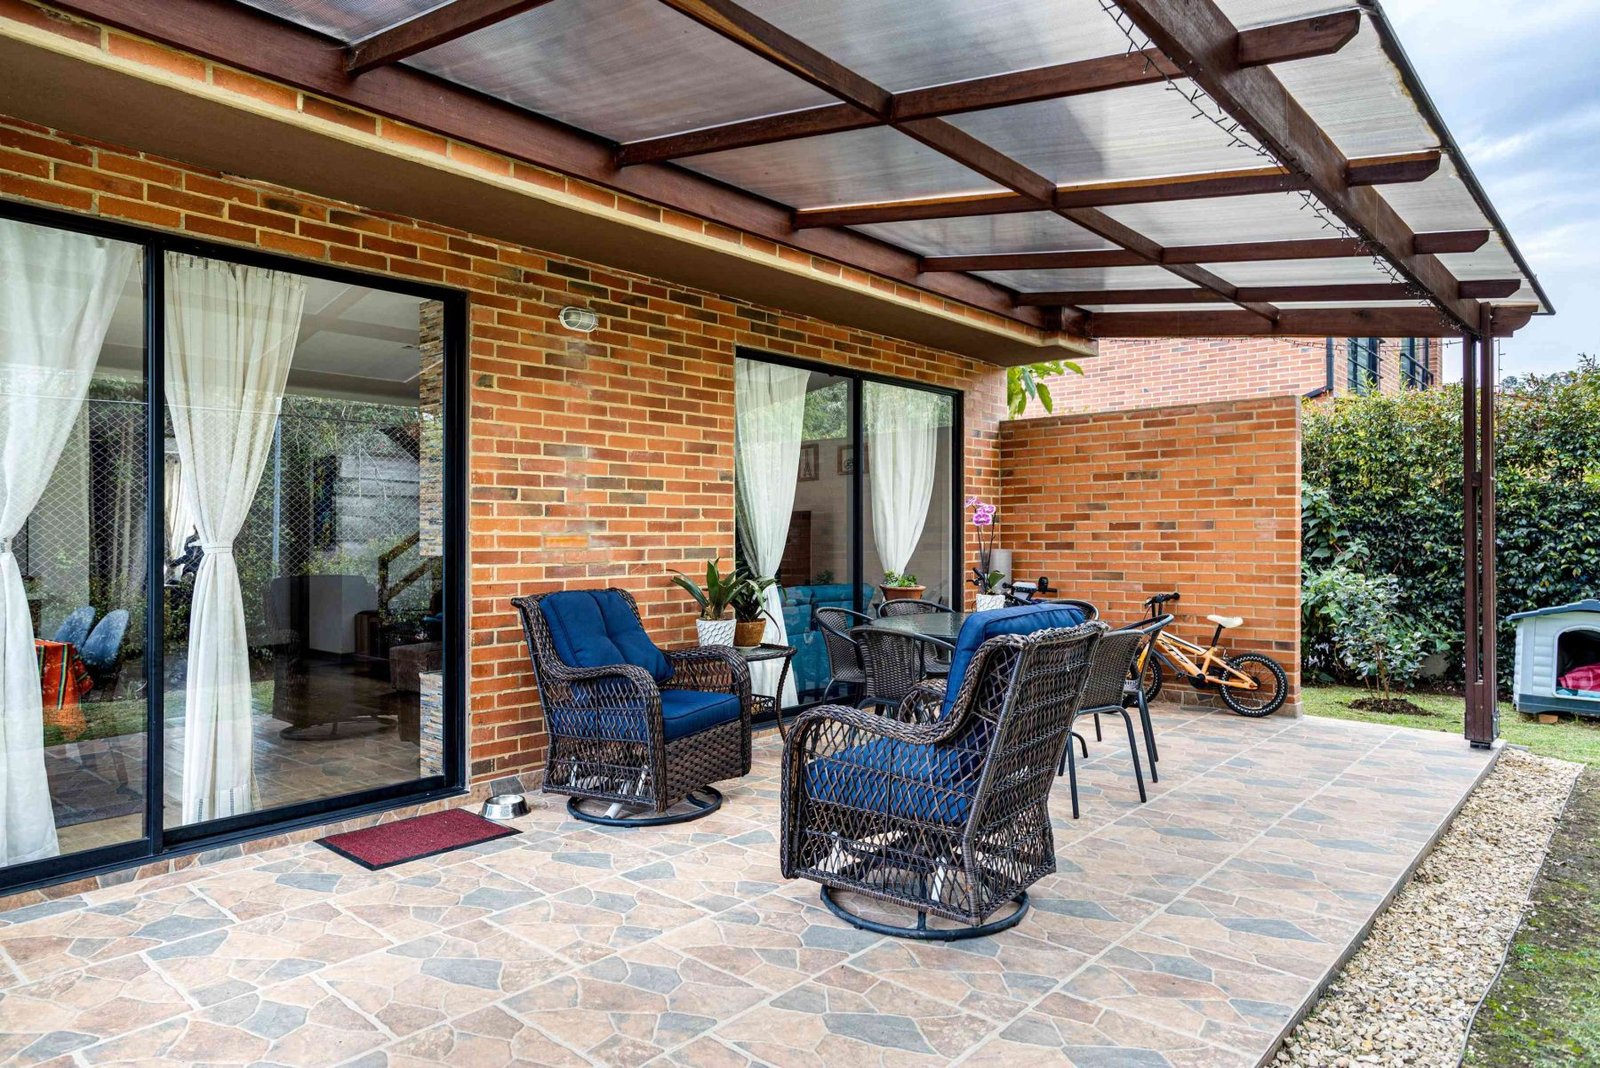
The long Calgary summers come as a blessed relief after the seemingly endless winter months, and it’s important to try to maximize your outdoor time, as you’ll be forced inside again before you know it. Your patio is the best place to hang out, the perfect halfway house between sitting in the comfort of your own home and lounging in the garden. However, the strong midday sun makes it hard to sit out on your patio for extended periods of time, unless you have some sort of overhead protection.
This is where installing a patio cover will be the perfect early summer home improvement project. Not only do they provide shade for you and your family, but they also help protect against harmful UV rays and stop debris and rainfall from destroying your patio during rainstorms. For a project with so many benefits, it’s not that hard to do yourself. Here are the X steps to install a patio cover in time for summer:
Plan it out – the key to the success of any patio cover installation project is to have everything planned out and measured before you get started. This includes mapping out where the support beams will go, how many panels you’ll need for the cover, where you want rainwater runoff to go, and how the cover will attach the building (or if it will be free-standing). This is the point where you may want to get expert advice, especially if you’re worried about creating something that will be up to code.
Install the frame – once all the decisions have been made, it’s time to install the frame. Start with the upright posts; typically these will go at the corners of your patio cover, but if it’s longer than 12 feet in any direction, you may need additional support in the middle. Once the posts are secured into your patio, then add the beams. These parts anchor your patio to your home, so make sure you have the right wall-mounting connections.
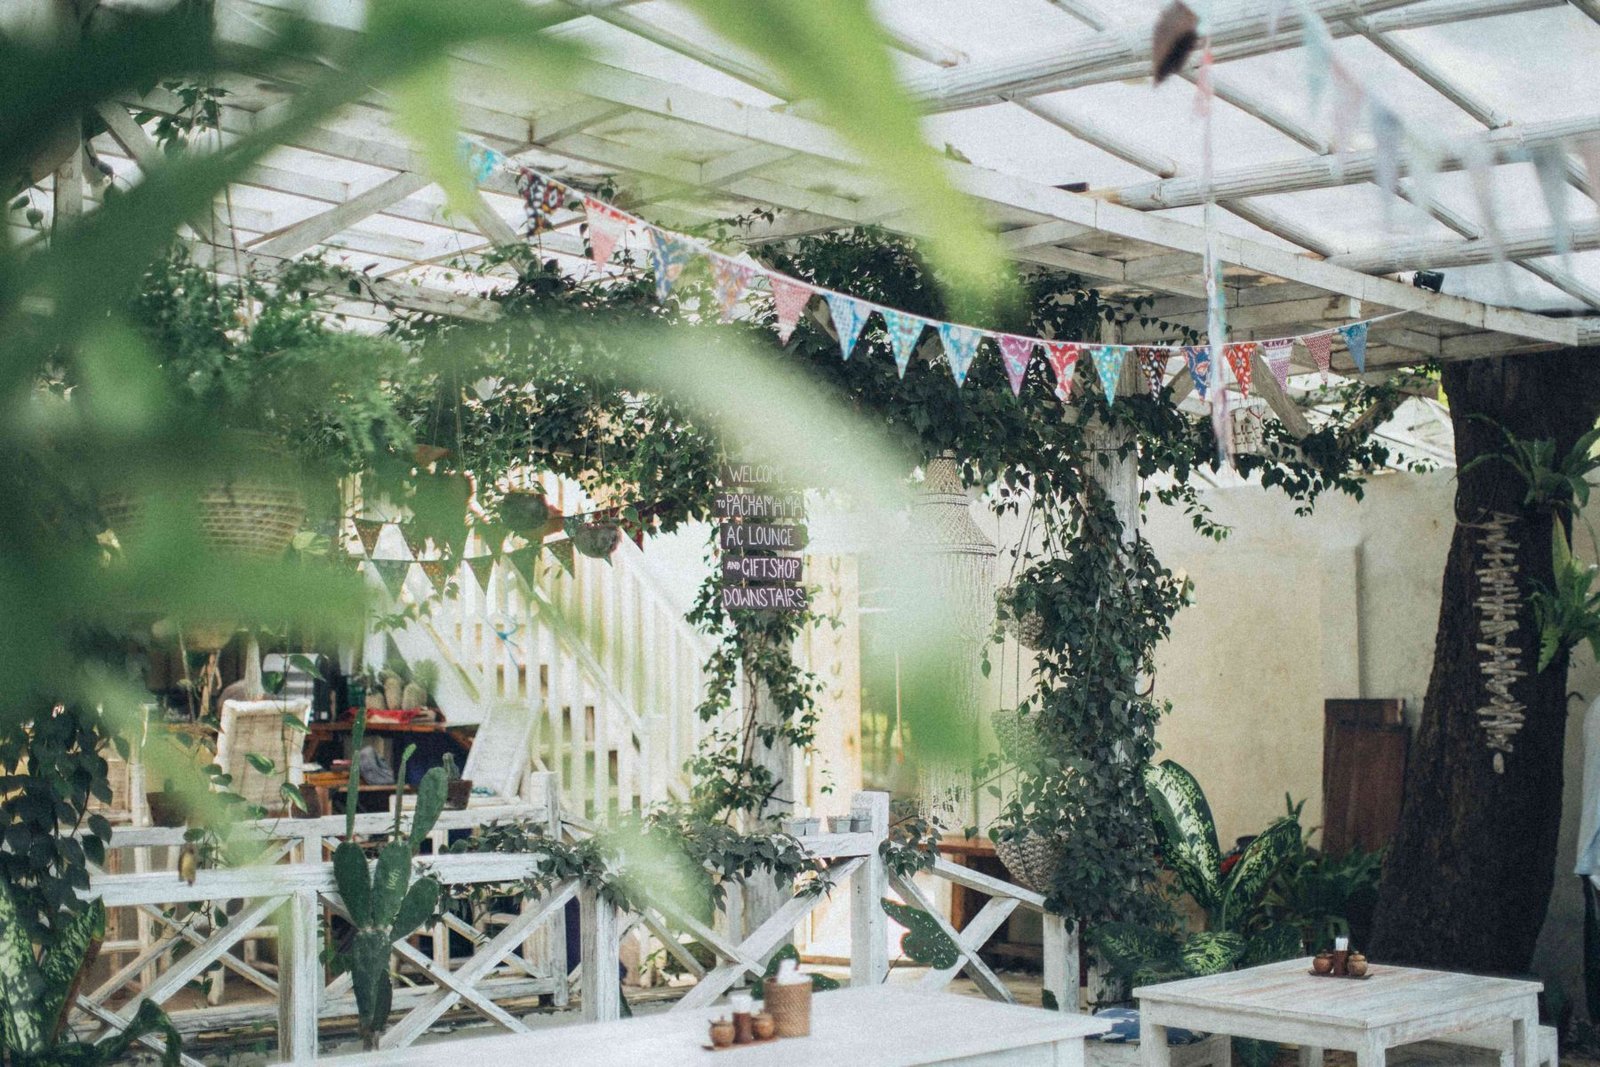 Add the cover – with the frame correctly put together, the patio cover panels should slot easily into place, assuming that you did all the measuring correctly in step 1. You’ll need to pick between W-pan and V-pan patio cover panels to suit the needs of your project.
Guttering – the final, but most important, step is to attach guttering to the edges of your patio cover. Try to match the color of the frames and panels with the color of the guttering. You also need to think about how to get the water to the ground – most people choose a simple drainpipe method, but you can also install a handy water butt to help conserve water.
To successfully install a patio cover, you will need a good set of power tools, including an impact hammer for the post installation and a drill for securing the beams. If you’re unsure about any step, seek professional help immediately so that your structure will stand the test of time.
Get the next one by email
One considered piece every other Thursday. No affiliate links.
Keep reading

What is the difference between a studio roof and a gable roof?
When you’re looking at installing a new sunroom, it can be easy to get caught up in the big picture, planning out what to do with all the extra space and how you’ll entertain throughout the year with…

The Importance of Proper Maintenance After Commercial Roof Installation in Madison
A commercial roof is one of the most critical components of a building, serving as the primary defense against the elements and contributing significantly to the overall structural integrity. After…
How to Choose the Right Roof-Mount Solar System
The decision to harness the sun's power and invest in a roof-mount solar system is a significant step towards energy independence and sustainability. However, choosing the right solar system for your…
Be the first to comment
Loading the thread…